15 DIY Privacy Screen Ideas

Let’s be honest I’ve always loved having a cozy, private corner in my home where I can just relax without feeling like the whole world is watching. And I know you probably do too.
Privacy screens are a lifesaver, especially if you live in an apartment, have a shared space, or just want to add a little style while keeping nosy eyes out. The best part? You don’t have to spend a fortune on pre-made screens.
With some creativity, you can make your own personalized privacy screen that perfectly fits your space.
I’ve tried a few of these DIY privacy screens myself, and honestly, the difference they make is amazing. Not only do they give you privacy, but they also add a decorative touch to your room or balcony.
Whether it’s a corner in your bedroom, your study, or even your garden, these ideas will help you transform your space. Here are 15 DIY privacy screen ideas that are fun, functional, and totally doable.
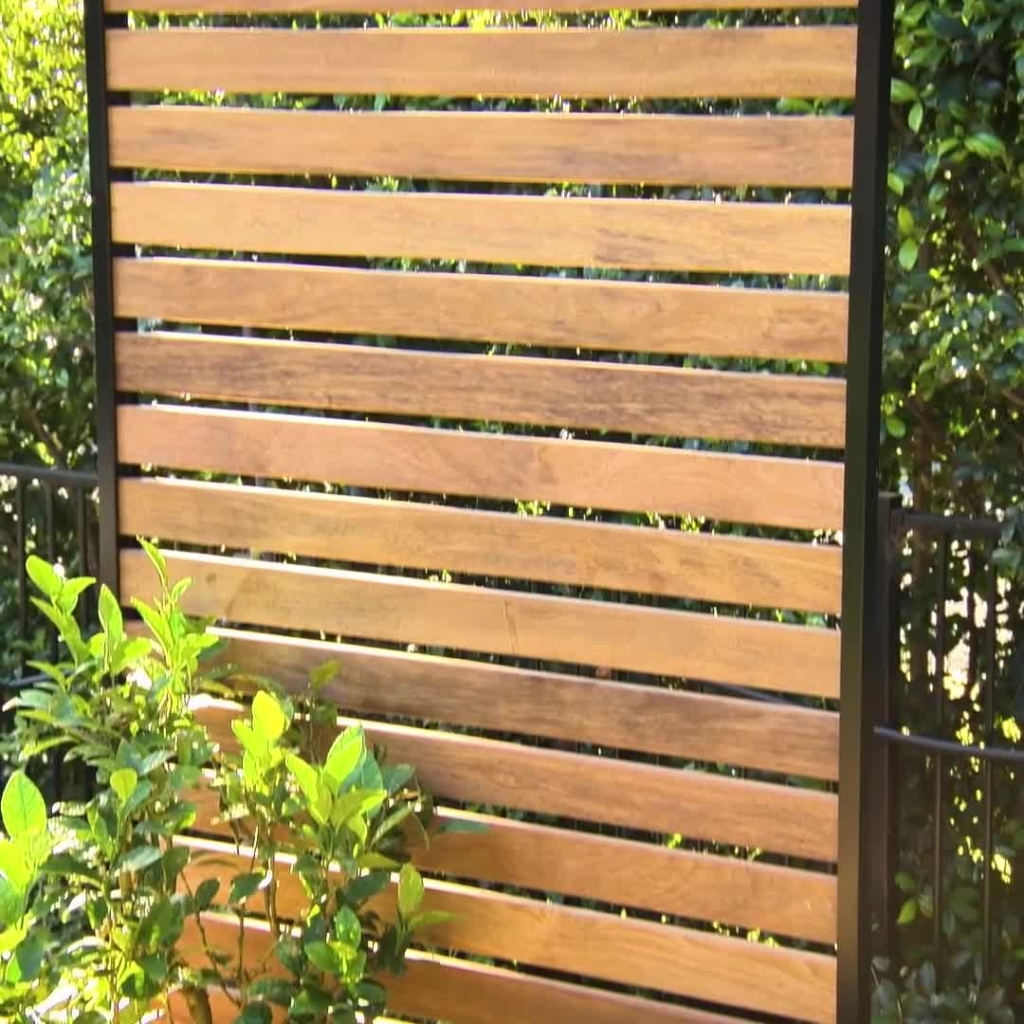
1. Wooden Slat Screen
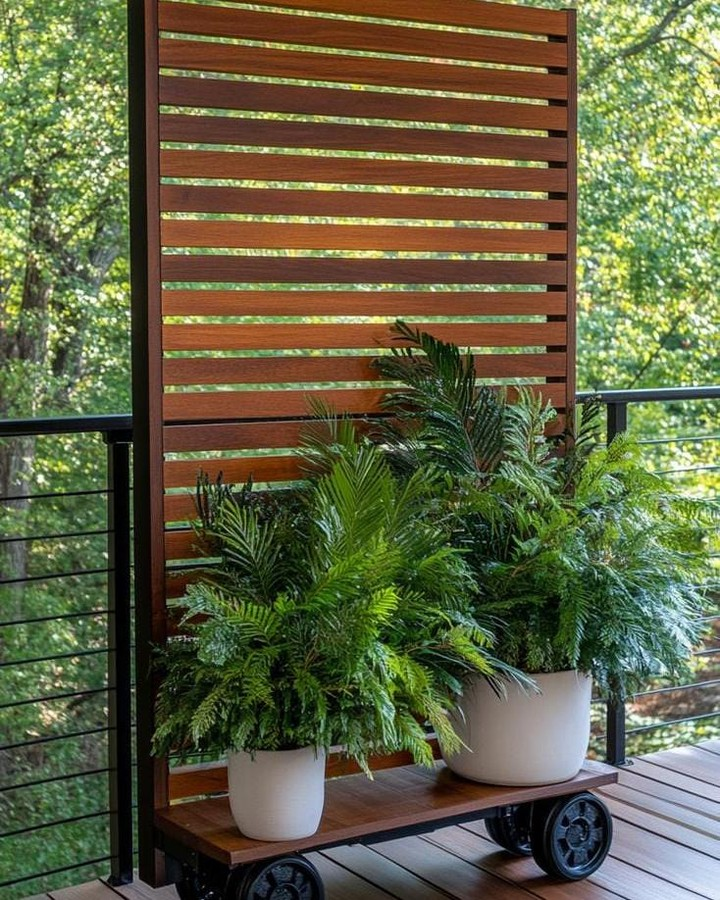
A wooden slat screen is one of my favorites because it’s simple yet elegant.
I used thin wooden planks, spaced evenly, to create a natural barrier between my living room and kitchen.
It’s sturdy, and I even stained the wood to match my furniture. What I love most is how it still lets light through while giving me full privacy.
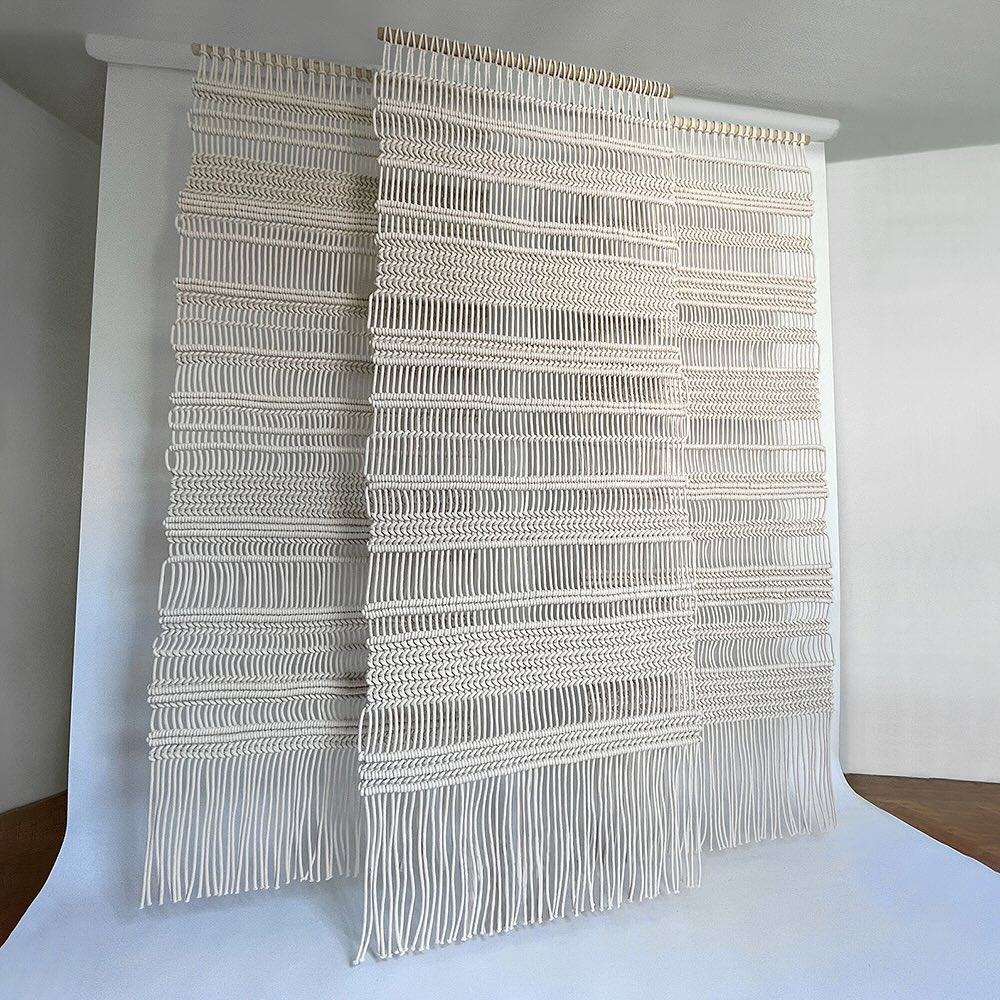
2. Hanging Macramé Panel
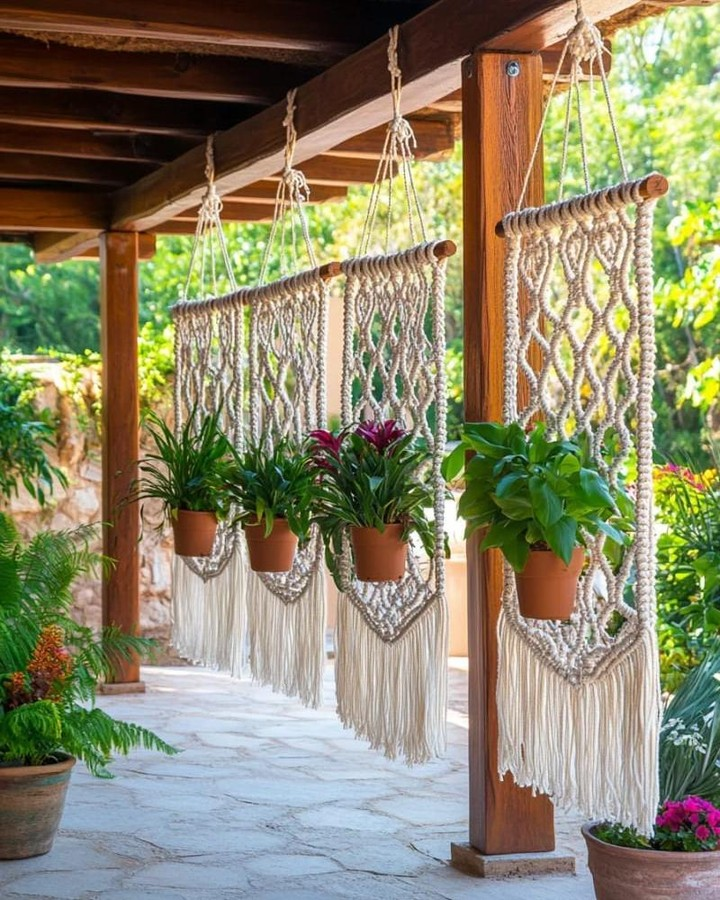
Macramé panels are perfect if you want a soft, boho look. I made mine using cotton rope, and it instantly added warmth to my space.
The knots create interesting patterns, and the screen feels airy while still blocking the view.
This one is great if you’re looking for something lightweight and easy to move.
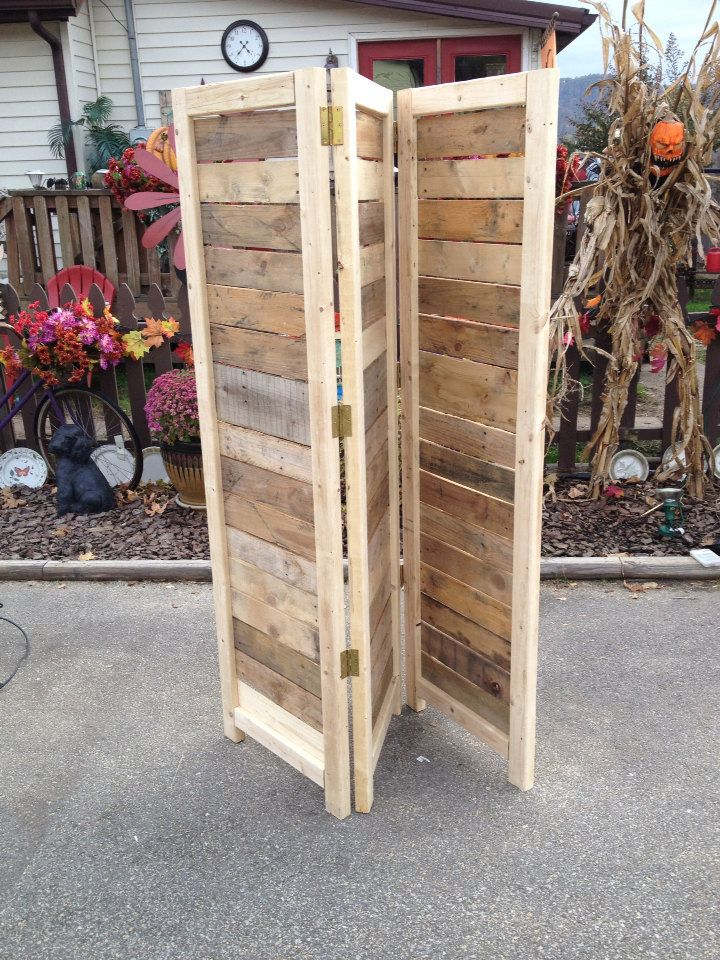
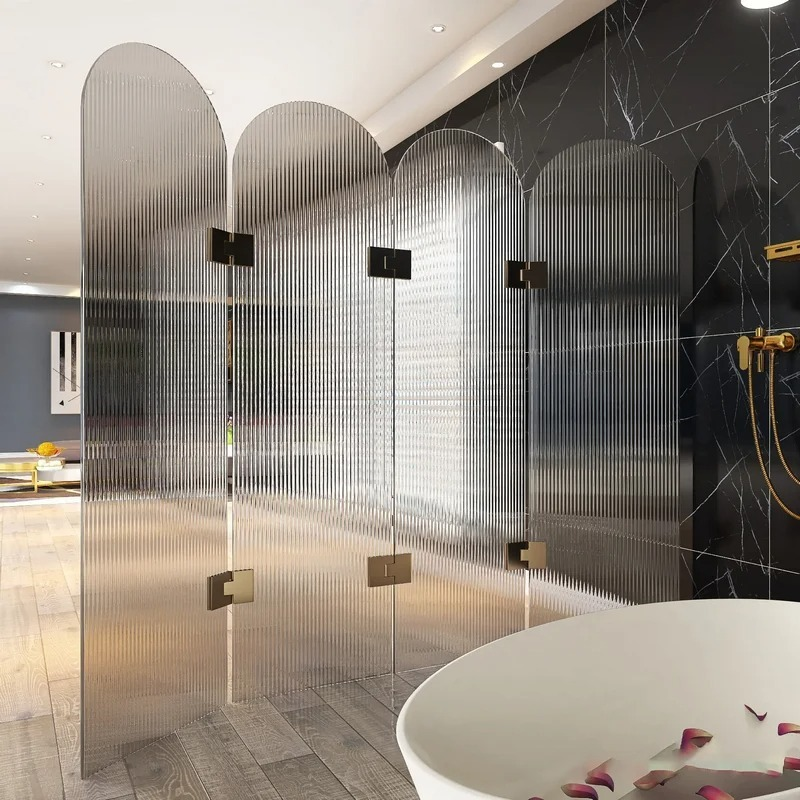
3. Folding Room Divider
I built a folding screen using old wooden doors I had in my garage. The hinges make it easy to fold and store when not in use.
I painted it white, and now it feels like a chic room divider from a boutique store.
Plus, the folding feature is great for adjusting the screen whenever I need more or less privacy.
4. Fabric Draped Screen
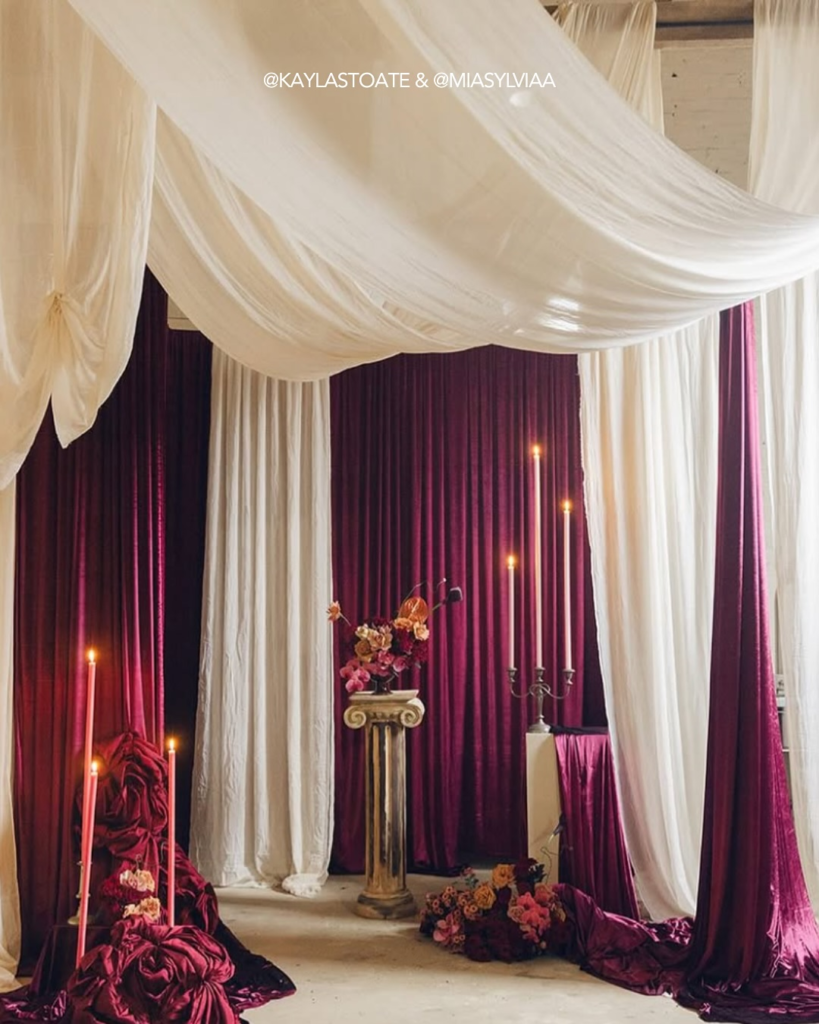
I once used a heavy curtain fabric and hung it from a tension rod to separate my bedroom corner. It’s soft, cozy, and super easy to switch out if I want a new look.
I also love that I can pick bold patterns or subtle neutrals depending on my mood. This one is perfect for renters who don’t want to drill holes.
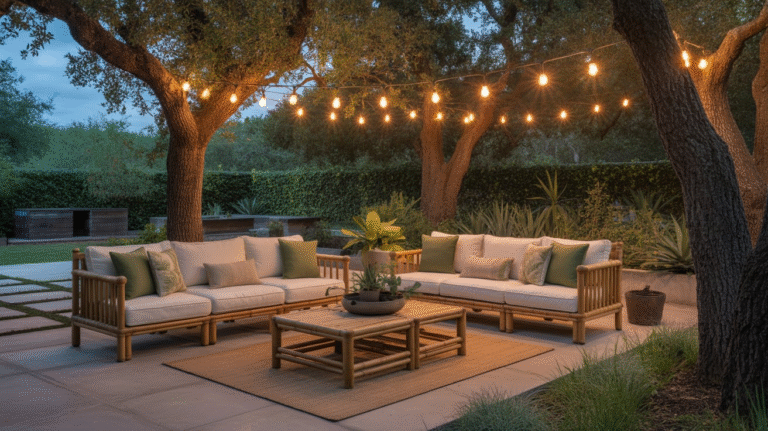
5. Bamboo Privacy Screen
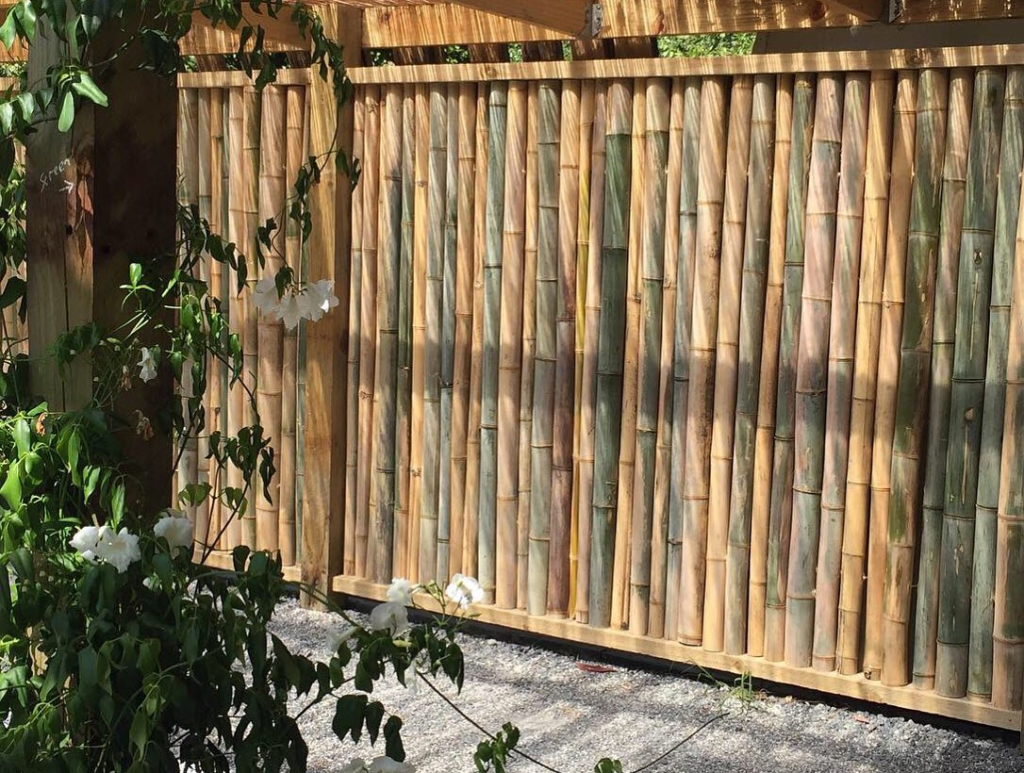
Bamboo screens are a natural way to create privacy. I bought bamboo panels from a local store and secured them together with rope.
It gives my balcony a tropical feel, and it’s surprisingly durable. I also enjoy the soothing texture and natural color of bamboo it feels like I’m in a mini retreat.
6. Repurposed Bookshelf
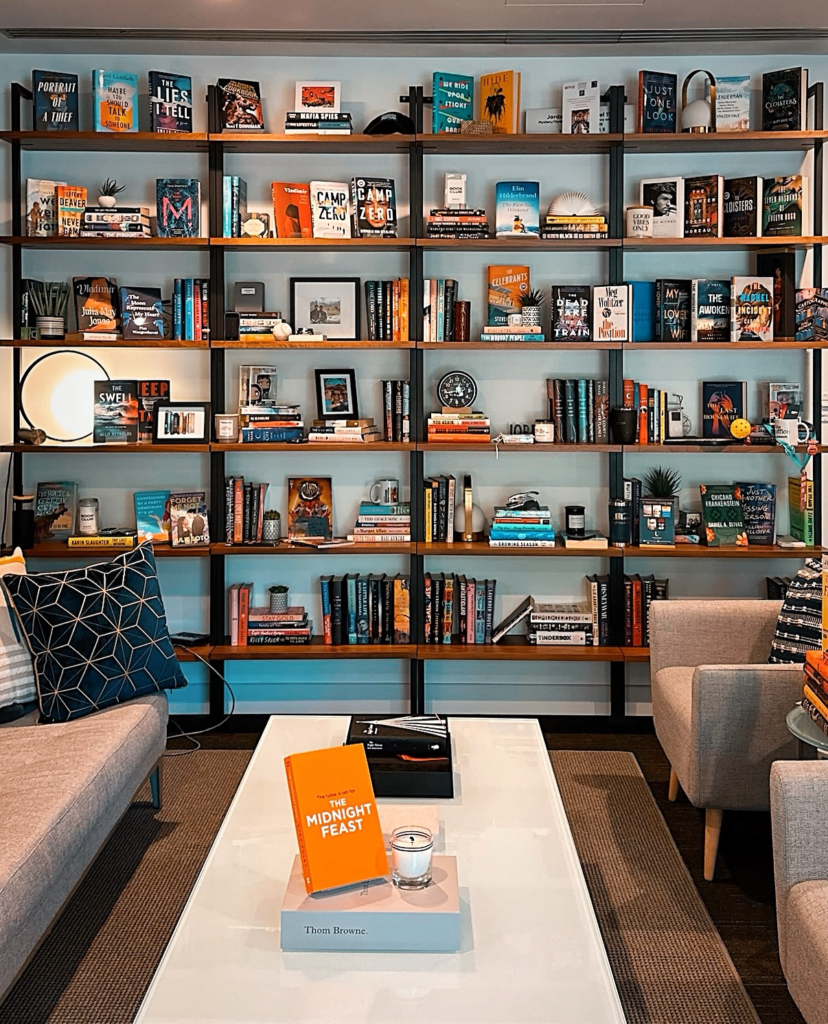
Here’s a fun one: I turned an old bookshelf sideways and used it as a divider.
By placing books and decorative items strategically, it became both functional and private.
I get storage and privacy in one, and it’s easy to change up the display whenever I feel like redecorating.
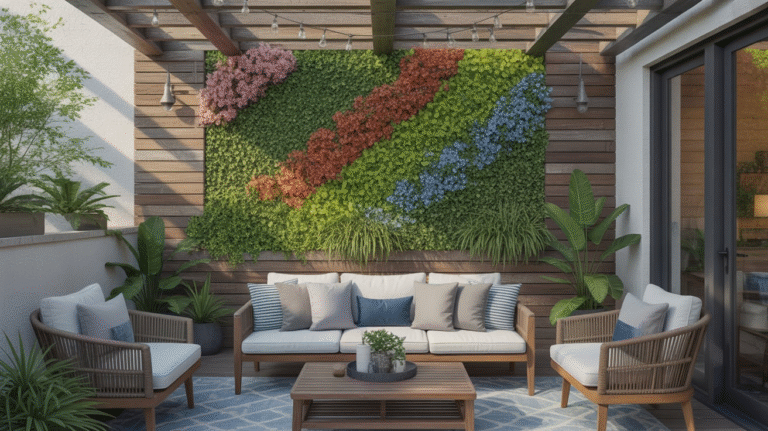
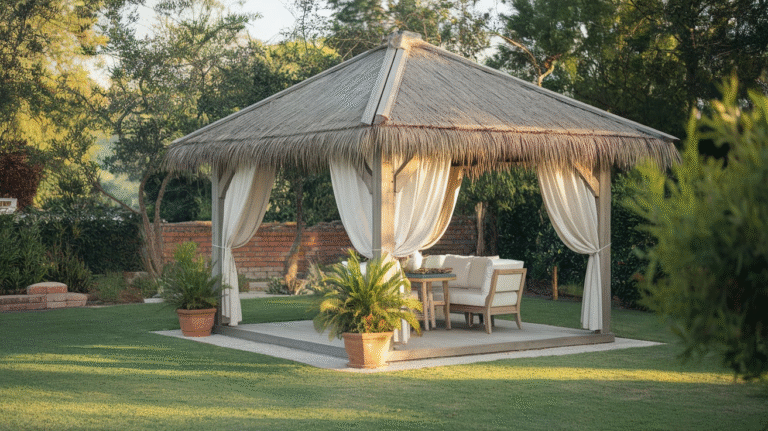
7. Potted Plant Wall
If you love greenery, this is for you. I arranged tall potted plants in a line to act as a natural barrier between my living area and workspace.
Plants like fiddle leaf figs or tall palms work wonderfully. It’s calming, eco-friendly, and gives me a sense of being outdoors while staying private indoors.
8. Lace Curtain Screen
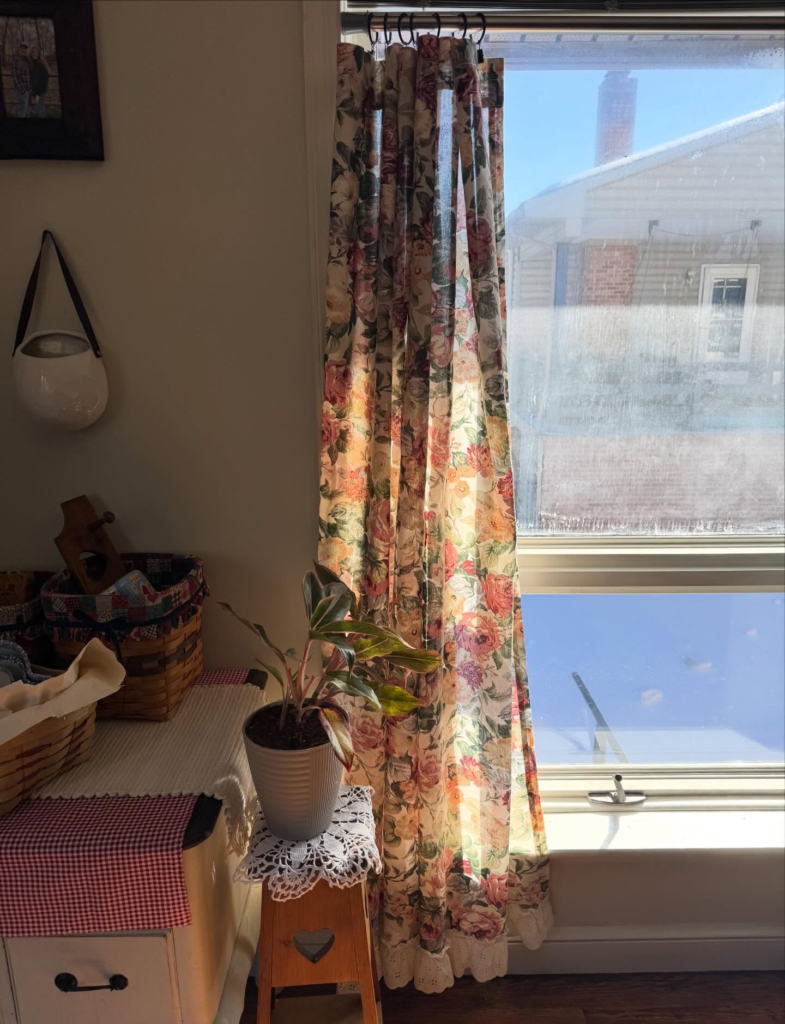
source
For a romantic and delicate vibe, I used lace curtains hung on a rod. The lace blocks direct views but still lets light in, which makes my space feel open yet secluded.
I particularly enjoy this in my reading nook because it feels airy and dreamy without feeling closed off.
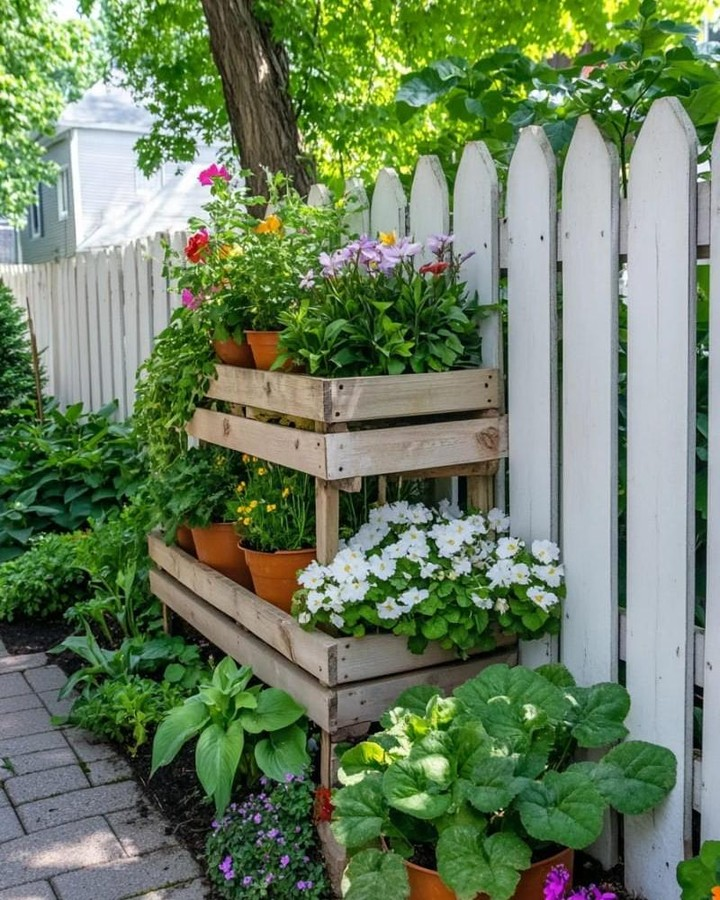
9. Pallet Wood Divider
Pallet wood is a super budget-friendly option. I sanded down a few pallets and stacked them to create a rustic screen.
It gives a farmhouse vibe and is surprisingly strong. Plus, I can paint it or leave it natural depending on the style I want.
10. Shutter Screen
Old window shutters are another unique idea. I connected two shutters with hinges and painted them a soft pastel color.
I love that it has character and feels vintage. It also folds easily, so I can adjust the coverage whenever needed.
11. Beaded Curtain
Beaded curtains are playful and fun. I strung colorful beads on strings and hung them from a tension rod.
While it doesn’t completely block the view, it gives a sense of separation and adds a decorative, whimsical touch. This one is great for a bedroom or creative space.
12. Rattan Panel
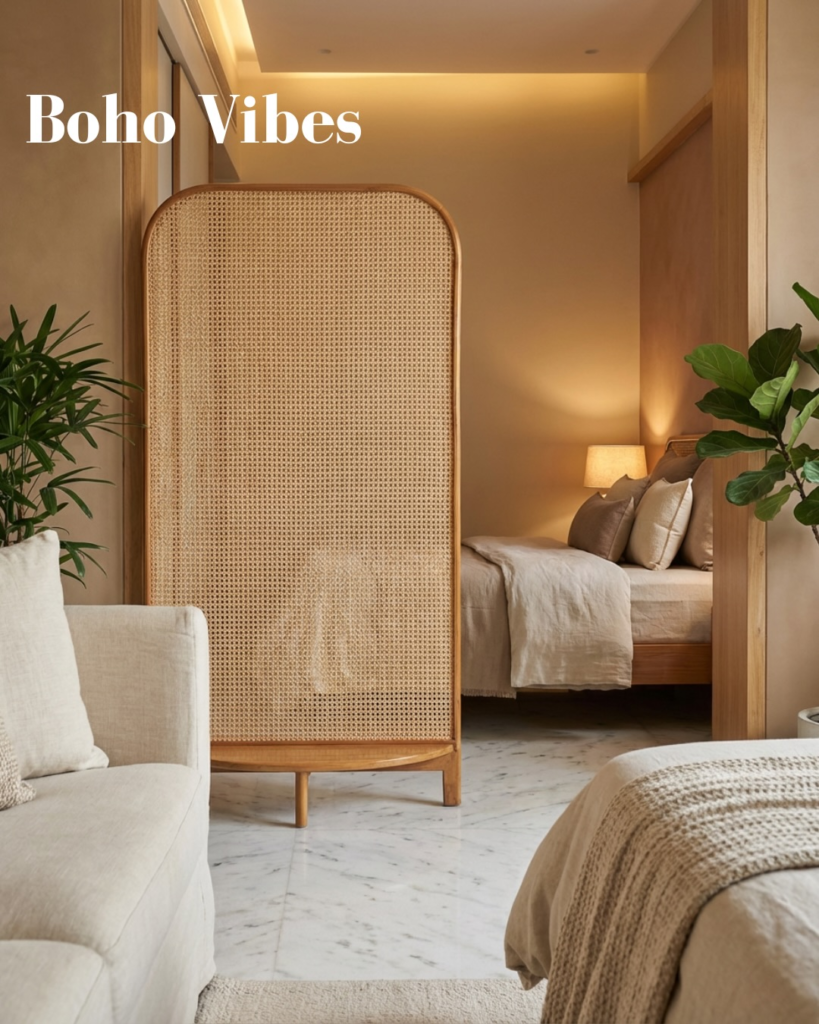
Rattan panels are lightweight and stylish. I purchased a panel and framed it for stability.
It gives a tropical, airy feel while still providing privacy. I love that it feels natural and warm, and it fits perfectly in my balcony corner.
13. DIY Rope Wall
I braided thick ropes and hung them vertically from a wooden rod. It’s simple, modern, and works beautifully as a divider.
I like that it gives texture and dimension to the room while keeping things open and light. It’s one of the easiest DIY projects I’ve done.
14. Mirror Panels
Yes, mirrors can work as privacy screens too! I used old mirrored panels and set them on a folding frame. It reflects light and space while creating a private nook.
I especially love this idea for small rooms because it makes the space look bigger and stylish at the same time.
15. Chalkboard Divider
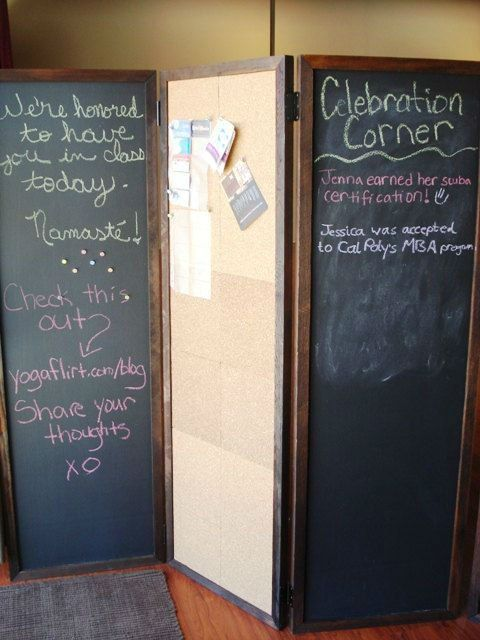
Finally, I made a chalkboard screen by painting an old wooden frame with chalkboard paint. It’s functional, playful, and private.
I can doodle, leave messages, or write quotes on it. This one is perfect if you have kids or love interactive décor.
Conclusion
Creating your own DIY privacy screen is not only fun but also rewarding.
You get to add style, functionality, and personal touches to your home while enjoying the privacy you deserve.
I’ve tried many of these ideas, and each one has made my space feel more comfortable and uniquely mine. Whether you go for plants, fabric, wood, or beads, there’s something here for every taste and space.
FAQs
Q: Are DIY privacy screens expensive to make?
A: Not at all! Many of these ideas use repurposed items or inexpensive materials like fabric, pallets, or plants. You can create a stylish screen on any budget.
Q: Can I make these screens if I rent my home?
A: Yes! Many options, like tension rods, hanging fabrics, or free-standing panels, don’t require drilling or permanent changes.
Q: Do DIY screens block light completely?
A: It depends on the material. Some, like wooden or bamboo panels, block more light, while fabrics and macramé let light through but maintain privacy.
Q: Which screen is best for small spaces?
A: Folding screens, mirrored panels, or hanging fabrics are ideal because they are flexible and don’t take up much floor space.